
Setting Up Lighting in VR Exhibitions
In order to set up lighting in your VR exhibition, you have to first create an exhibition in the Dashboard and add Assets to it.
Instructions
Log into the Editor and start your VR exhibition setup.
When the exhibition has loaded you can start setting up the lighting.
Step 1
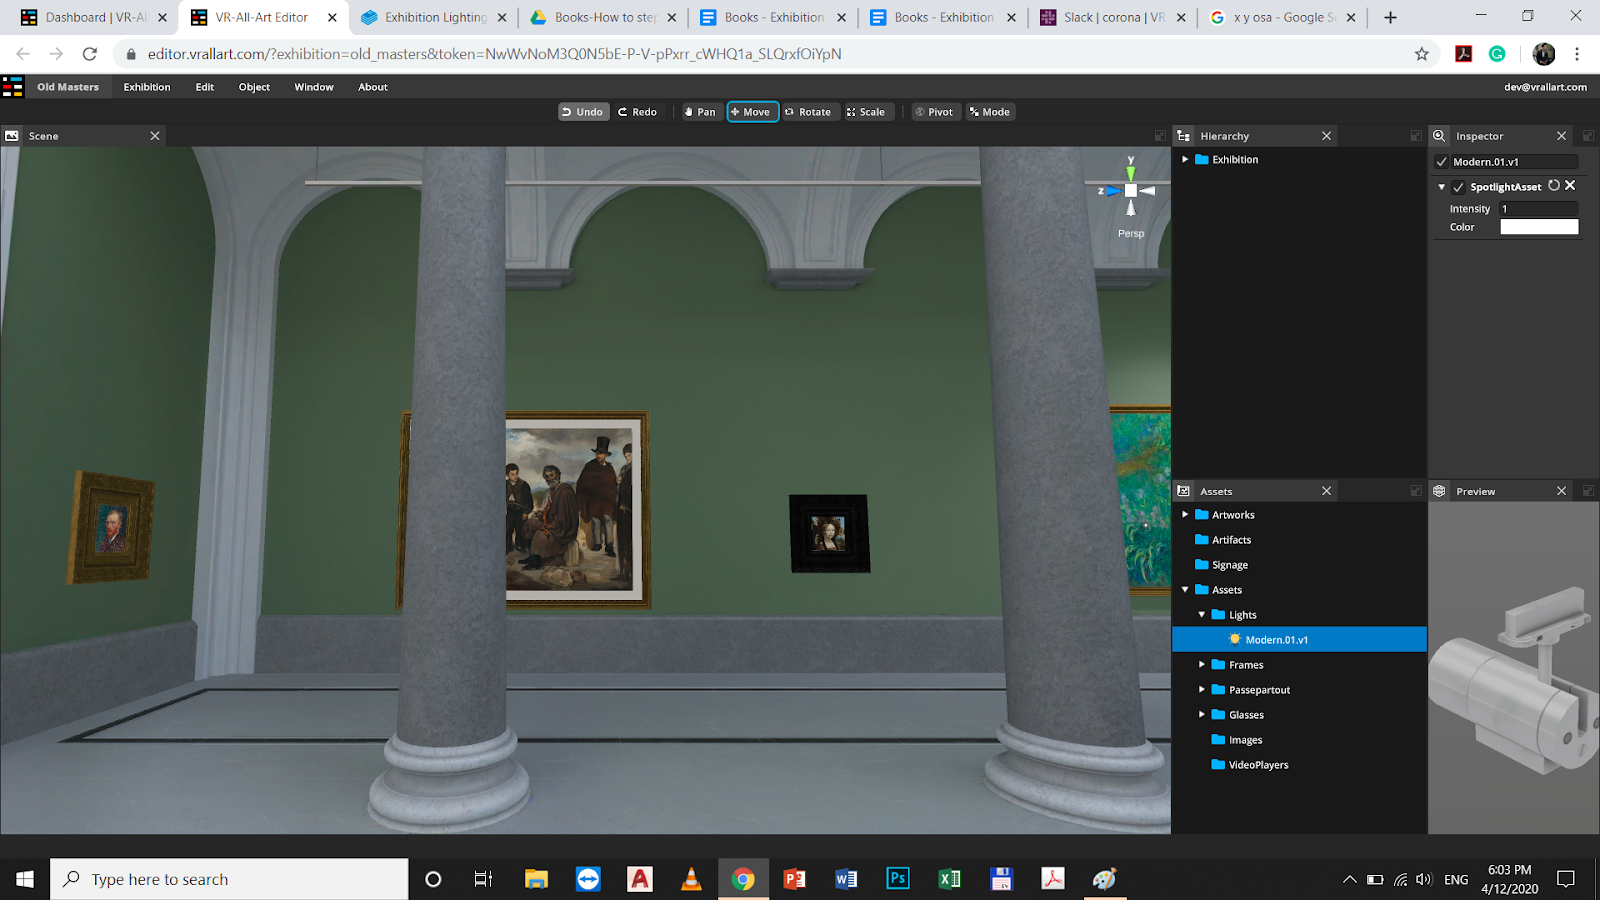
In the right side panel find Assets > Lights.
When Lights are selected, the corresponding icon will appear.
Step 2
Drag and drop the selected light on the rails within the virtual exhibition space.
Step 3
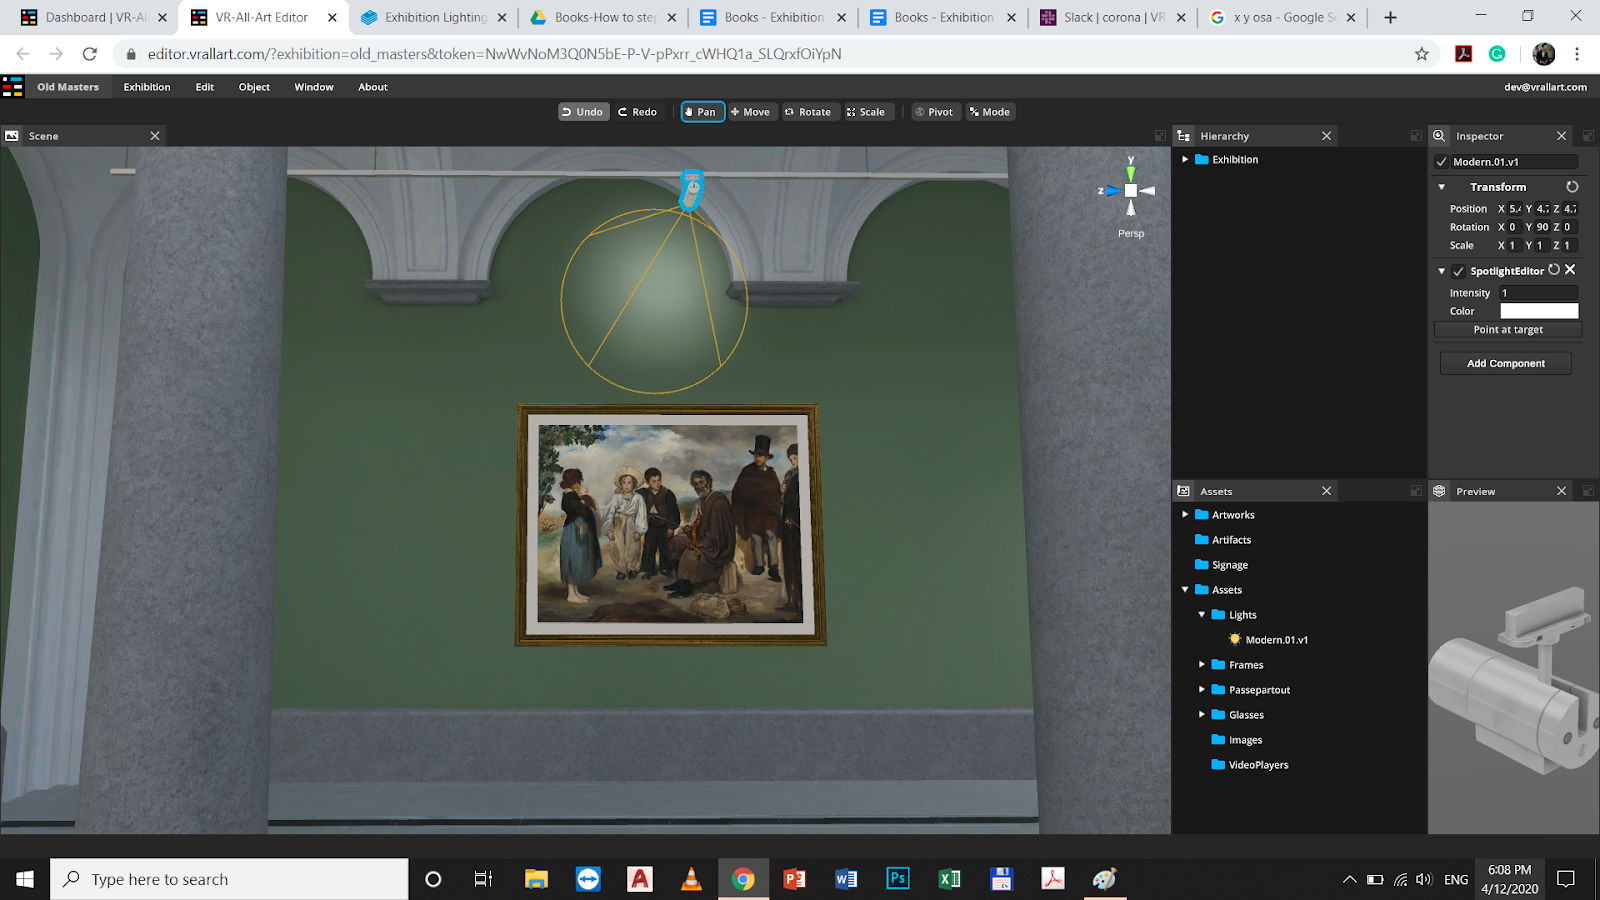
In the top right corner of the Editor you will find the button "Point at target". By clicking on it, you will be able to select the target of the light beam (e.g. the center of an artwork you have previously placed on the wall).
When the light is pointed at an artwork, a small sun icon will appear at its intended position.
Step 4
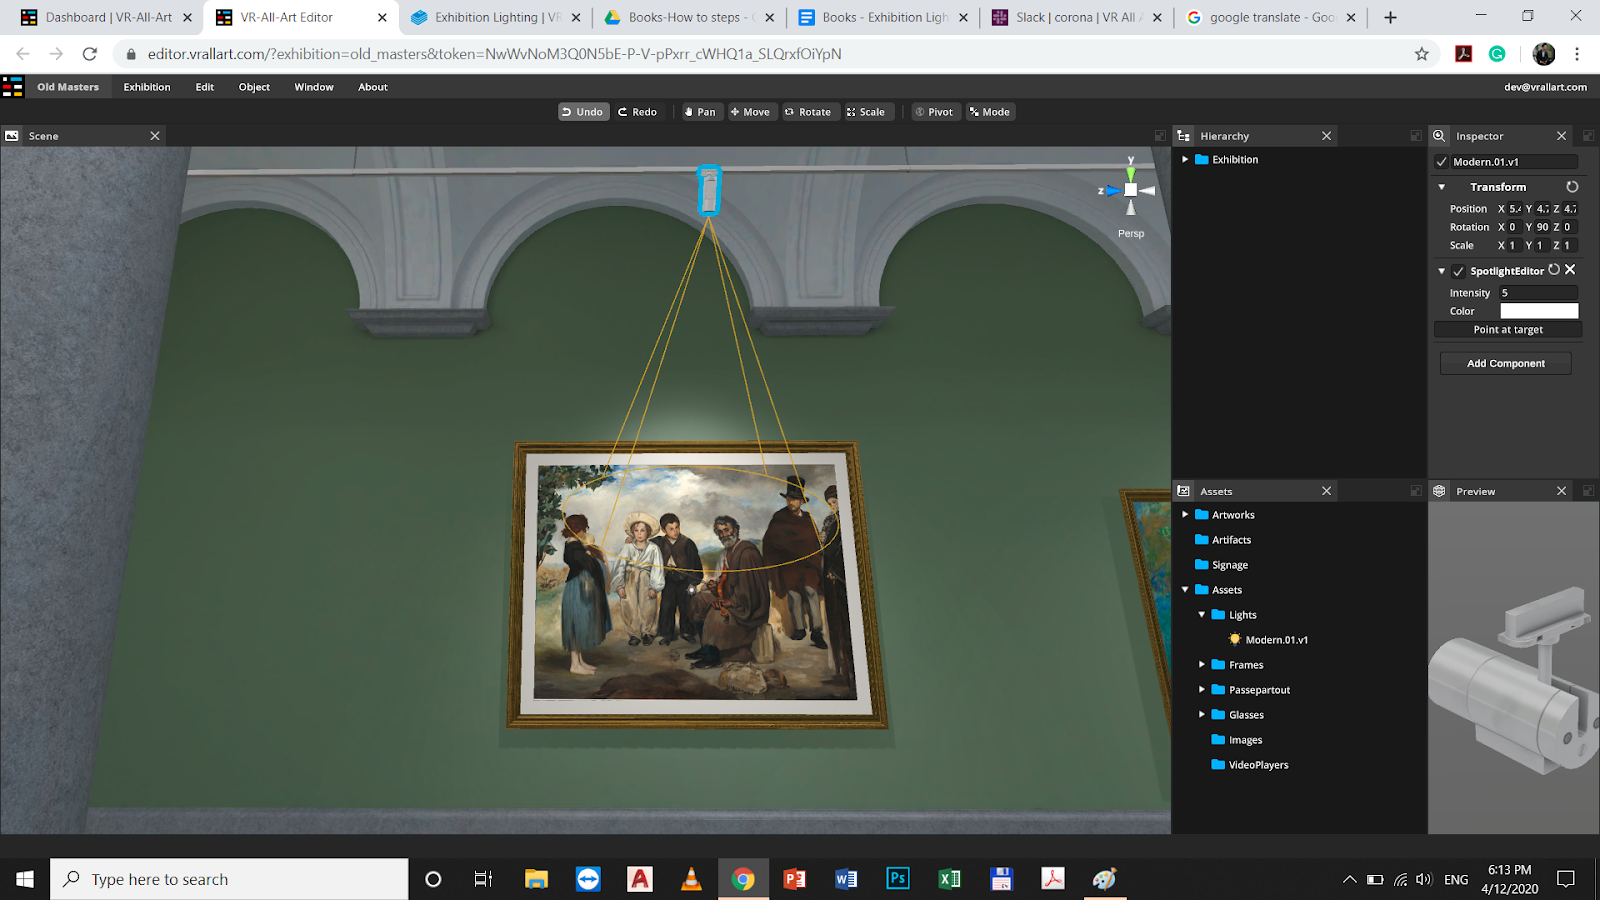
To increase the intensity of the light, changing the value by typing the desired numbers into the window in the top right corner of the Editor.
Step 5
To move the lights once they have been placed onto a rail, use the Move tool.
No Comments